How to Run PCSX2 Without a PS2: Step-by-Step Guide for 2026
If your old PS2 died years ago, or you sold it, or you never owned one but still want to play Gran Turismo 4 or Kingdom Hearts, you’ve probably wondered whether a console is even needed anymore. It isn’t. A decent PC and a free emulator called PCSX2 will do the job.
The only part that confuses people is the BIOS. Almost everybody gets stuck there on their first try, so I’ll spend a good chunk of this guide on it. Everything else is pretty straightforward.
Do You Actually Need a PS2 to Use PCSX2?
No. PCSX2 copies what the console’s hardware used to do (the processor, graphics chip and sound) using software, so your computer takes over the console’s job.
But the emulator on its own won’t play anything. You need three pieces:
- The PCSX2 emulator
- A PS2 BIOS file
- Your game files
If one of them is missing, nothing starts. Open PCSX2 without a BIOS and it just complains. Add a BIOS without a game and you’re staring at an empty window.
What Kind of PC Do You Need?
PCSX2 isn’t as hungry as people think, but a really old laptop will have a hard time. Roughly:
- Windows 10 or 11 (64-bit), or a current Linux or macOS setup
- A processor with AVX2 support, which covers most chips made in the last 8 to 10 years
- 8 GB of RAM (4 GB works, but it’s tight)
- A graphics card that handles Vulkan or DirectX 12
- 10 to 20 GB of free disk space for a small game library
Got integrated graphics? You can still play plenty of games. You’ll just need to keep the resolution at the default.
Step 1: Download PCSX2
Get it from pcsx2.net and nowhere else. Reupload sites love to bundle junk with the installer, and it’s not worth the risk for a free program. Pick the stable version unless you specifically want the nightly builds, then unzip it somewhere permanent. Moving the folder later is a common way to break your setup.
If you want a quick look at what the program can do before installing, the PCSX2 emulator page on our site explains it in plain terms.
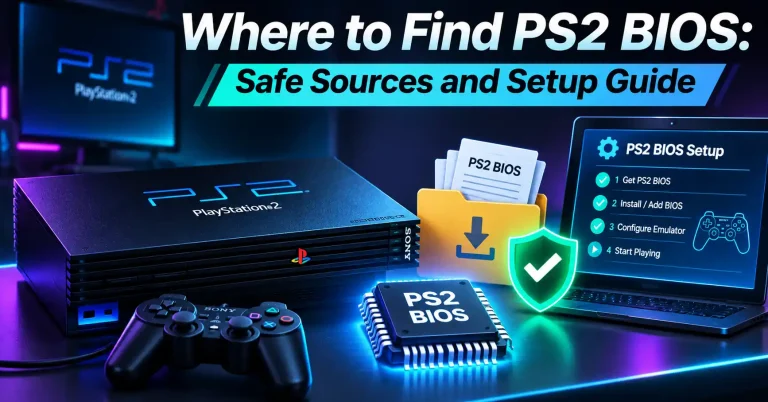
Step 2: Sort Out the BIOS
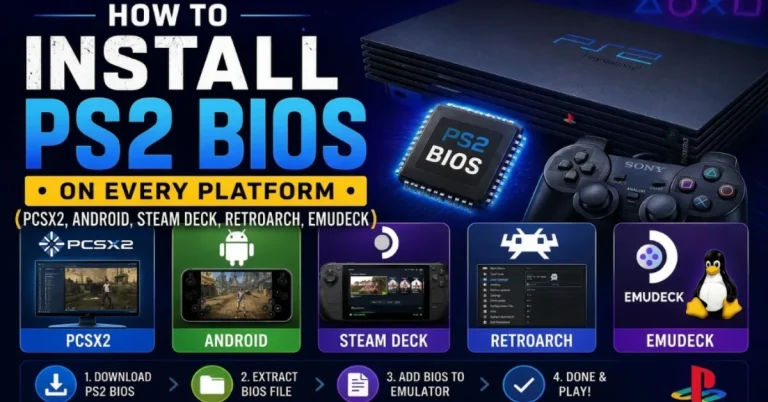
When a real PS2 starts up, it first loads a small piece of software stored on its motherboard. That’s the BIOS. It wakes up the hardware, deals with memory cards, reads your controller and then loads the disc. PCSX2 needs the same file to act like the real thing.
It’s only about 4 MB. The emulator doesn’t include it because it’s Sony’s copyrighted code.
Here’s the honest part. The method emulator developers recommend is dumping the BIOS from a console you own. If you don’t have one anymore, you’ll find people sharing these files online, and whether that’s legal depends on your country. Most places treat it as a gray area at best. Check your local rules, and stick to sources you trust, because random download sites are a classic way to catch malware.
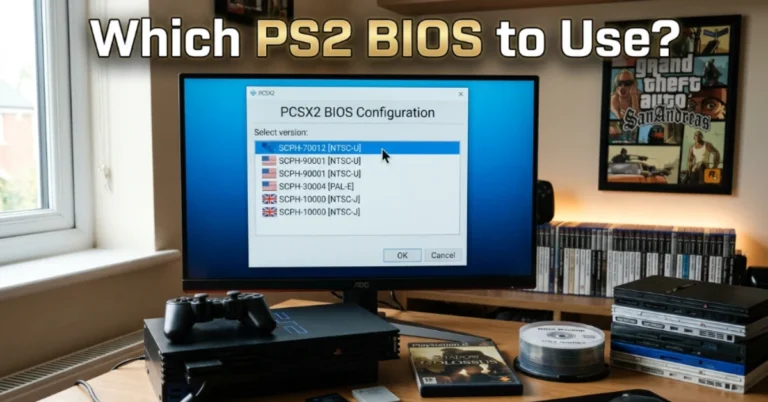
On which one to pick: for Western games, the USA file is the usual safe choice. Japanese games work best with a Japanese file, and PAL games with a European one. If you can’t decide, read which PS2 BIOS to use, which explains the differences without the technical noise. You can also look at the region pages directly, such as PS2 BIOS USA, PS2 Japan BIOS and PS2 Europe BIOS.
Matching the region matters more than most guides admit. Mix a PAL game with an NTSC BIOS and you can get speed problems or a stretched picture.
If you’d rather have everything in one place, the PS2 BIOS homepage lists the main regional files and a full pack.
Step 3: Put the BIOS in the Right Folder
Once you have the file, unzip it with 7-Zip or WinRAR. You should see one or more files ending in .bin. Then:
- Open PCSX2. The first-run wizard shows up automatically. Pick your language and go on to the BIOS page.
- Click “Open BIOS Folder.” This takes you to the exact folder PCSX2 reads from, usually Documents\PCSX2\bios.
- Copy your .bin file straight into it.
- Go back to the wizard and press “Refresh List.”
- Select your BIOS from the list and continue.
Skipped the wizard? No problem. You can do the same thing from Settings > BIOS. If you’re still lost, our PCSX2 BIOS guide goes through the folder paths in more detail.
One mistake I see all the time: people drop the .bin inside another subfolder within the bios folder. PCSX2 doesn’t search that deep. Keep the file in the main folder.
Step 4: Add Your Games
PCSX2 reads game images, not discs sitting in the tray (well, it can, but images are faster and more stable). The right way to build a library is to make images of the discs you own. A DVD drive and a free tool like ImgBurn will turn a disc into an ISO.
PCSX2 accepts ISO, CHD, BIN/CUE and a few other formats. CHD is worth a look since it cuts the file size roughly in half with no loss in quality.
To add games, go to Settings > Game List, click the plus icon and choose the folder where your images are. After a short scan, covers and titles appear in the main window. Double-click one and it starts.
Step 5: Tweak the Graphics
he default settings work fine, but a few changes make a big difference:
- Renderer: Vulkan or Direct3D 12 is the best bet on a modern PC. If a game shows glitches, try the other.
- Internal resolution: Start at 2x. It looks much sharper than the original console and won’t kill an average graphics card. Move up to 3x once you know your PC copes.
- Fast Boot: Turn this on to skip the startup logo.
- Widescreen patches: Lots of games have them built in. Enable them in the game’s properties if the picture looks squashed.
Change one thing at a time. If something breaks, you’ll know exactly why.
Step 6: Connect a Controller
Plug in an Xbox or PlayStation pad before you open PCSX2, then head to Settings > Controllers. It usually detects the pad straight away. Hit “Automatic Mapping” and the buttons are assigned for you. A keyboard works, but most PS2 games are painful that way.
Common Problems (and the Fix)
“No BIOS found.” The file is in the wrong place or still inside the zip. Unzip it, put it directly in the bios folder and refresh the list.
Black screen when a game starts. Usually a bad ISO or a region mismatch. Try another BIOS version or make a fresh image of the disc.
Stuttering or slow gameplay. Drop the internal resolution, switch renderers and close your browser. Chrome alone can eat a surprising amount of RAM.
Game speed feels off. Check the BIOS region against the game region. A PAL game on an NTSC BIOS is the most common cause.
Controller does nothing. Open the controller settings and map the buttons again, and make sure another program isn’t holding on to the pad.
What If You Want to Play on Your Phone?
PCSX2 is a desktop program, so on Android you need something else. AetherSX2 was the go-to option for years. Development stopped, but people still use it and its forks, and it needs a BIOS just like PCSX2. Our AetherSX2 BIOS page covers the import process on a phone.
If you like having one app for many consoles, RetroArch has a PS2 core too. The folder setup is a little different, and the PS2 BIOS for RetroArch guide shows where everything goes.
And if you also have original PlayStation games, those use a different firmware. The PSX BIOS page explains which file goes with which emulator.
Frequently Asked Questions (FAQs)
Final Words
Running PCSX2 without a PS2 is easier than it sounds. Install the emulator from the official site, put the BIOS in the right folder, add your game images and adjust a few graphics settings. After the first game boots, every other game follows the same steps.
And if something goes wrong, check the BIOS first. That’s where most errors come from.